
Discover how easy it is to transform your backyard with a Plungie pool using our step-by-step install guide.
Why Plungie Pools Are Revolutionizing Outdoor Living
Plungie pools are changing the way people think about outdoor living and home investment. Unlike traditional pools that require lengthy on-site construction and coordination with multiple contractors, Plungie delivers a premium, precast concrete pool directly to your backyard. This off-site manufacturing process means faster installs, consistent quality, and fewer disruptions to your daily life or project schedule.
The result? You get a pool that’s engineered for lasting strength, stunning design, and genuine peace of mind so you can enjoy your yard with absolute confidence. With a variety of sizes and finishes to choose from, Plungie pools are crafted to fit seamlessly into both tight urban lots and spacious suburban backyards. Every pool undergoes rigorous testing before delivery, ensuring unmatched structural integrity and dependable long-term performance.
Preparing Your Site For A Seamless Plungie Delivery
Proper preparation is essential to achieving the best possible outcome with your Plungie installation. Here’s what you need to know before install day:
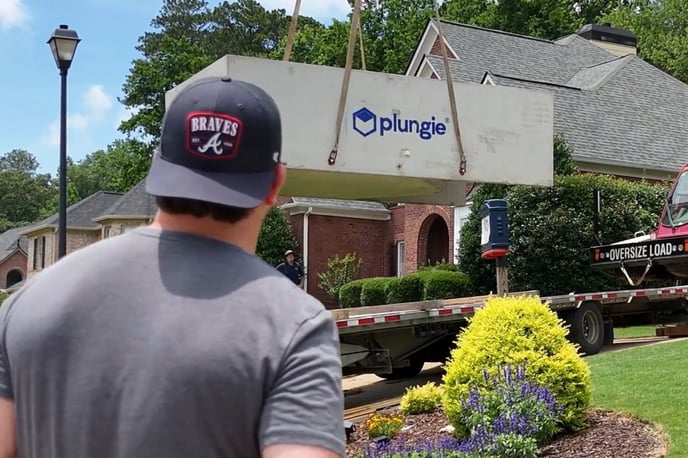
- Site Access: Plungie pools are delivered via crane, so your site must accommodate truck and crane access. Ideally, your site should have unobstructed overhead space & access to move the pool into place. Pro tip – your local crane provider can assess your home for site access in advance.
- Excavation: Your builder or licensed installer will excavate the site according to Plungie's Install Guide & engineering drawings.
- Base Preparation: A stable foundation is critical. Plungie pools require a base of compacted crushed stone in accordance with Plungie's engineering drawings.
- Drainage: Robust subsoil drainage is vital to prevent hydrostatic pressure around the pool shell. Proper drainage mitigates the risk of structural movement or groundwater issues, preserving the integrity and warranty of your pool.
Let's Take you Step-By-Step Through the Plungie Process
-
Choose Plungie: Start by choosing a pool model and interior finish. Plungie offers a range of sizes and ecoFinish™ color options to suit different site conditions and design goals.
-
Building Approval: Before installation, you’ll need to confirm local building approvals and permits (we recommend contacting your county’s or municipality’s permit office for further details). Your Plungie Authorized Installer can also look after this process for you. Plungie provides engineering and compliance documents to support this step.
-
Site Preparation: To ensure a safe and successful installation, all site preparation must be carried out strictly in line with the Plungie Engineering Set and the Plungie Install Guide.
-
Crane Hire: Your pool is delivered in one piece and craned into position—often in just a few hours. The installation window depends on weather conditions and site access, but typically it’s done in a single day.
-
Electrical + Backfill: Once the pool is in place, your licensed electrician and builder will complete two essential tasks
-
Electrical grounding: All Plungie pools come pre-fitted with earthing bolts to ensure safe installation.
-
Backfill: The shell is surrounded with compacted granular material to stabilize it. This is especially important for in-ground installations.
-
-
Plumb Up: Each Plungie comes pre-fitted with plumbing provisions such as the skimmer box, hydrostatic valve and filtration returns. Your plumber connects the system to the pump, filter, and heater if included.
-
Finishings + Surrounds: After installation, external finishes like coping, decking, fencing, and landscaping can be completed. The pool is designed to integrate with a variety of outdoor styles and materials.
-
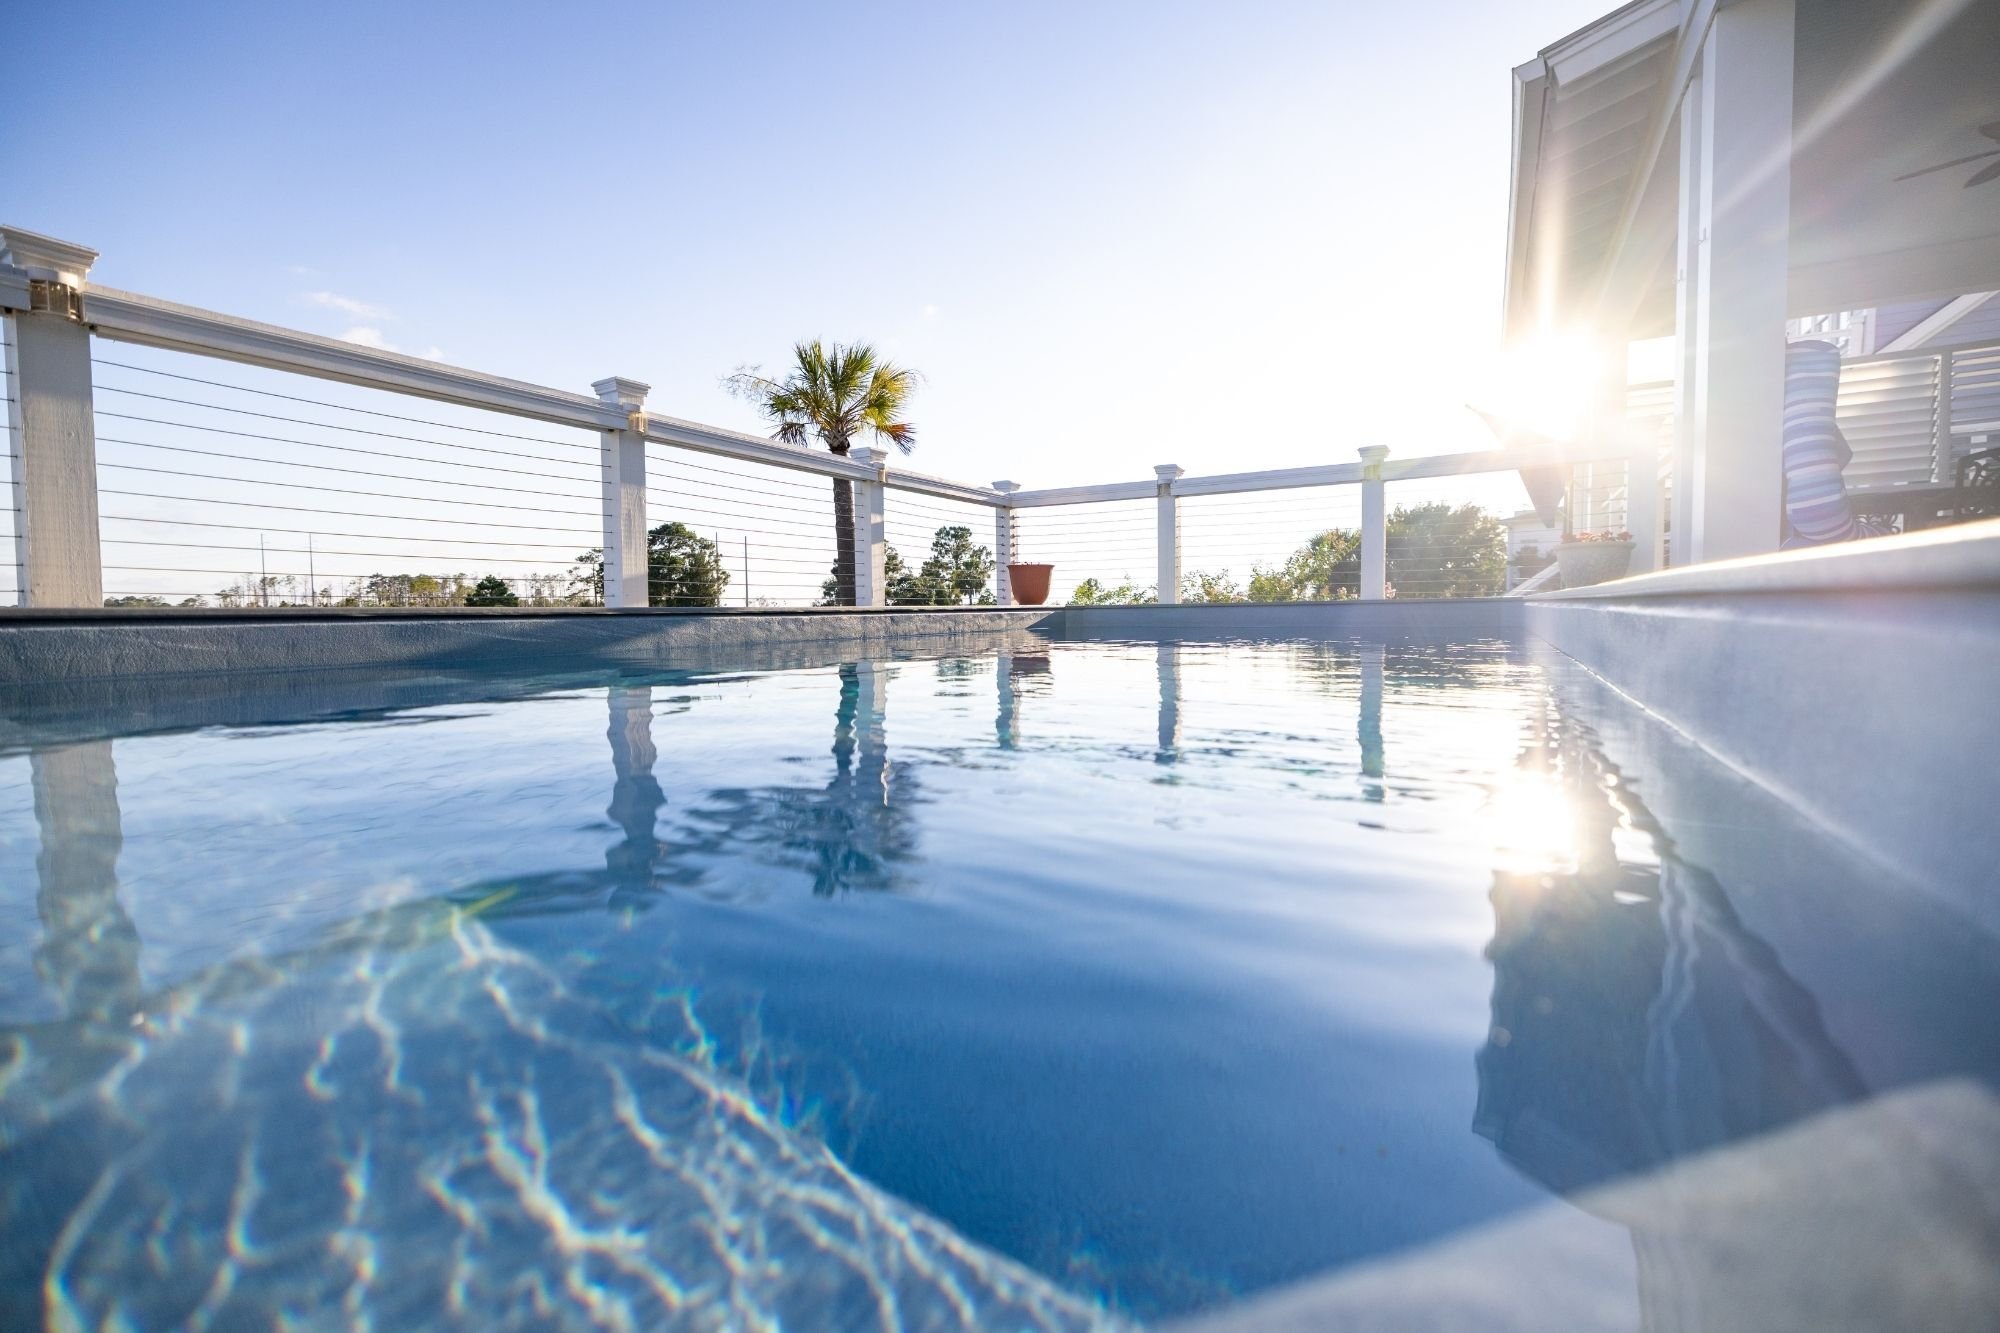
Fill + Start Up: Lastly install the hydrostatic valve and complete final certification and inspection, once that's done, the pool is swim-ready, and ongoing maintenance can begin.


.jpg?width=1200&length=1200&name=Simple%20Guide%20to%20Plungies%208-Step%20(3).jpg)

.jpg?width=1200&length=1200&name=Simple%20Guide%20to%20Plungies%208-Step%20(5).jpg)
.jpg?width=1200&length=1200&name=Simple%20Guide%20to%20Plungies%208-Step%20(6).jpg)
.jpg?width=1200&length=1200&name=Simple%20Guide%20to%20Plungies%208-Step%20(7).jpg)

Tips For Maintaining Your Plungie and Maximizing Its Lifespan
Maintaining a Plungie pool is straightforward thanks to pre-applied interior finishes and robust concrete construction. Regularly check water balance, clean the filtration system, and inspect equipment to ensure everything is operating efficiently. You’ll find extra tips on start-up, maintenance, and answers to common questions in our Plungie Care Guide.
For maximum longevity, have your pool inspected annually by a licensed technician, and address any minor issues promptly. With proper care, your Plungie will provide years of enjoyment and add lasting value to your home.
Ready To Take the Next Step?
Chat with your builder or landscape designer about how a Plungie could perfectly complement your project—we’re also happy to connect you with a Plungie Authorized Installer in your area who can handle everything from permits to final setup.
Still exploring your options? Download our detailed Plungie Install Guide or reach out to our expert team for tailored advice to help bring your vision to life.


.jpg)
%20(2).jpg)
.jpg)