Getting a Plungie
PROCESS
Get a Plungie in 8 easy steps
For years, the pool-building process has been too complicated. At Plungie, we’ve streamlined this process into 8 easy steps. Not only does this give builders more control over their projects, but homeowners can enjoy a premium concrete swimming pool in days, not months.
Who can install a Plungie?
Permits are required to have a pool installed in America, which is why an appropriately qualified tradesperson must install every Plungie. That doesn’t mean you need to hire a specialist pool builder, though.
Plungie Authorized Installer
Our network of Authorized Installers are here to help your Plungie install go as smoothly as possible. With experience across a wide range of projects, our trusted Installer will have you swimming sooner!
Owner-builder
Installing a Plungie as an owner-builder is available in some locations. It’s important to check the required processes and permits with your local municipality.
Bring your own builder (BYOB)
Any qualified home builder or pool builder can manage the certification, site preparation, and installation of a Plungie. Some states and territories also allow for a structural landscaper or plumber to install one.
At a glance
Swipe to see the whole process

1. Choose Plungie
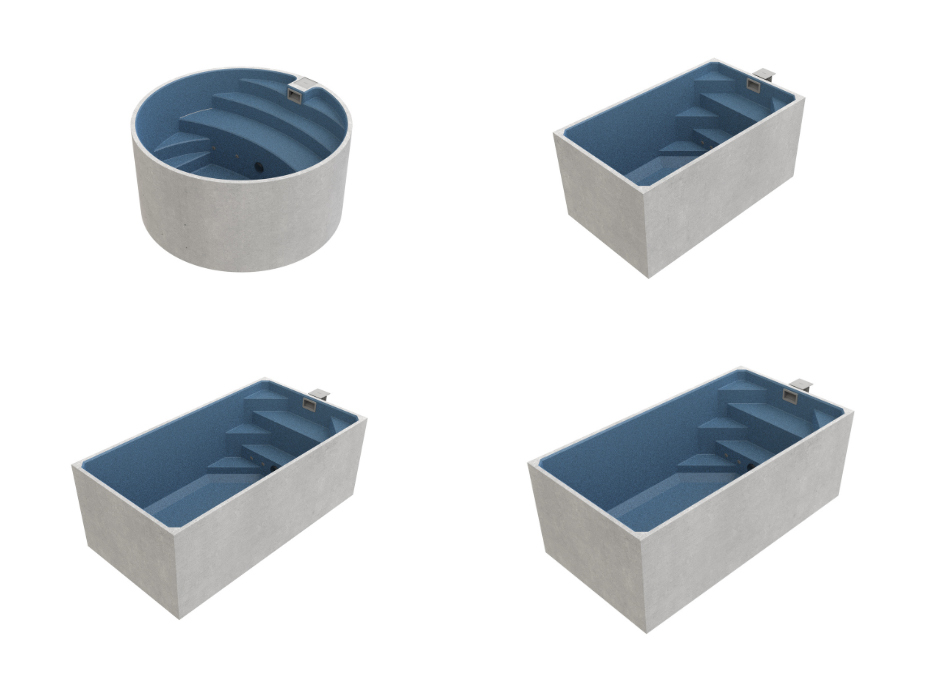
This is the easy part. We will quote you for the supply and delivery of your Plungie, as well as the supply and plumbing services for your chosen equipment. We have clear specifications for the Arena, Studio, Original and Max to help you decide which model is right for your project. These are found in step 1 of the Plungie Install Guide.
- Take the time to consider the following factors, as they may impact your quote:
- Extras — do you need a construction cover, equipment package or heating?
- Placement — where do you want the Plungie? Is there easy site access?
- Installation depth — do you want the pool in-ground, above-ground or semi-recessed?
- Finishings — will you need a waterline tile provision?
Download Plungie Install Guide
2. Building Approval
Permits are required to begin the installation process. We recommend contacting your county’s or municipality’s permit office for further details. To make life easy, we’ll supply you with pre-engineered specifications for pool construction and footings, based on different site classifications.
Download Plungie Install Guide

3. Site Preparation
The site preparation for the installation of a Plungie will include:
• Excavation
• Subgrade Preparation
• Sub base Preparation
You will be required to complete site preparation in accordance with standardized engineering requirements, as per your specific site classification.
Download Plungie Install Guide
4. Crane Hire + Delivery
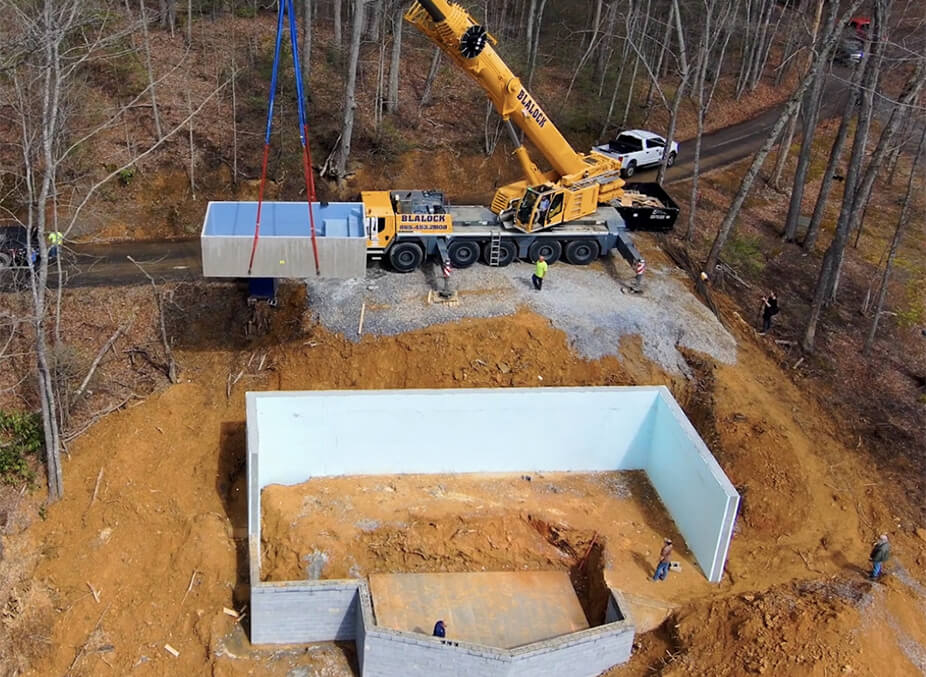
At the point of delivery, a crane is required to lift the pool from our delivery truck and place it onto the sub base. Every Plungie is manufactured with pre-engineered pick-up points for crane lifting. Helpful, right?
Crane hire is one of the most variable factors in an installation, as they are always site-specific and significantly affected by the degree of property access. Crane booking and cost is at the
customers expense.
Most reputable crane hire companies offer a free site assessment and quote. We provide you with a detailed lifting diagram, which has all the information your crane hire company will need.
5. Electrical + Backfill
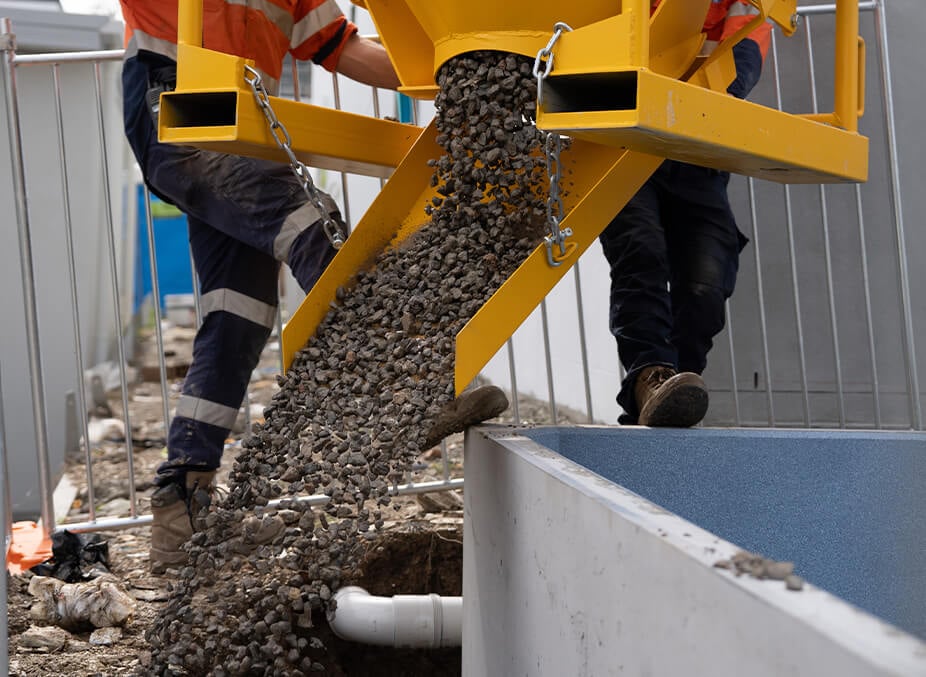
Next, a trade-qualified electrician must bond your Plungie. If the Plungie is being installed in-ground or semi-recessed, you will need to backfill the over-excavated area. Low-cost options such as recycled drainage gravel will do the trick and allow for drainage away from the concrete footing.
All backfill requirements can be found in our Engineering Set.
Download Plungie Install Guide
6. Plumb Up
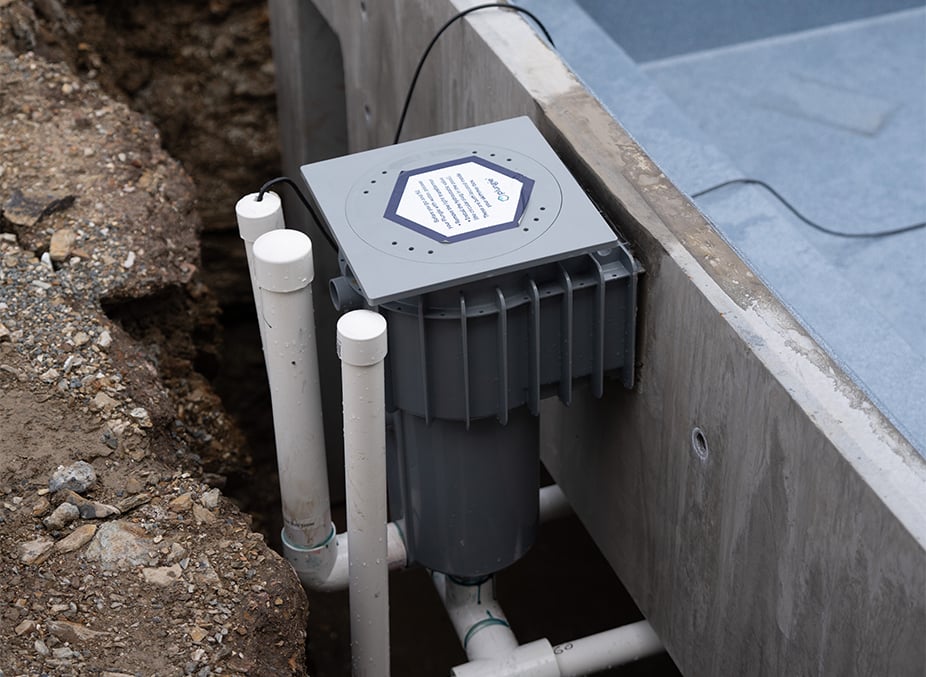
Every Plungie is supplied with its primary plumbing fixtures pre-fitted (you’re welcome!). This includes the skimmer box, hydrostatic valve, and filtration returns. You’ll need to ensure that the required power provisions are made available for your chosen equipment package to run on.
Find more information on plumbing up your Plungie in step 6 of the Plungie Install Guide.
Download Plungie Install Guide
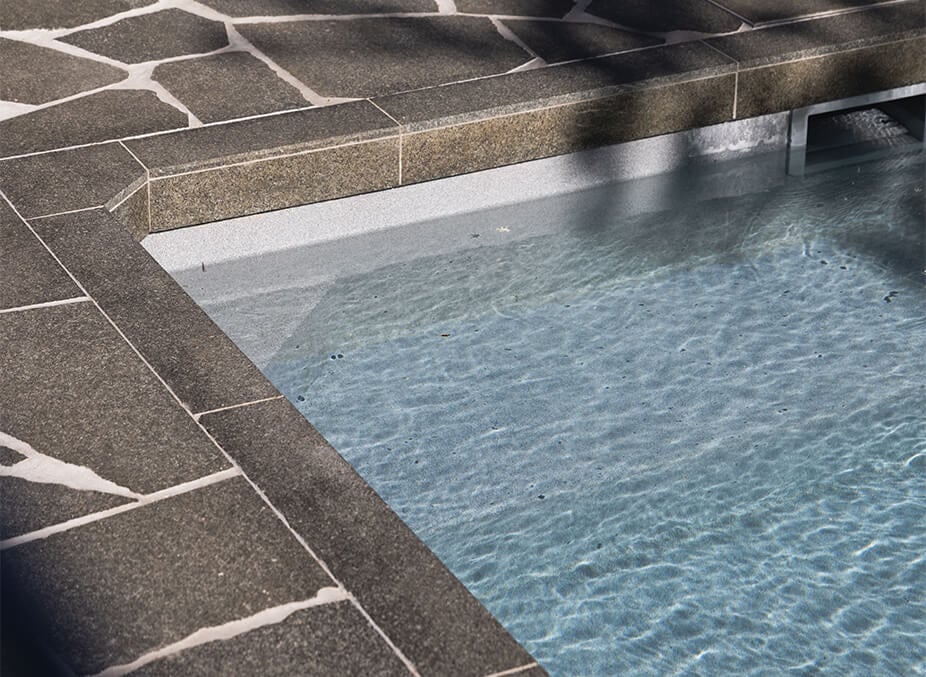
7. Finishings + Surrounds
With a Plungie, you can enjoy all the efficiencies of prefabrication while having plenty of options for personalization. Once the pool is installed, the following elements can be added to help it align with your project design:
- Coping tiles
- Waterline tiles
- Decking
- Paving
- Landscaping
Download Plungie Install Guide
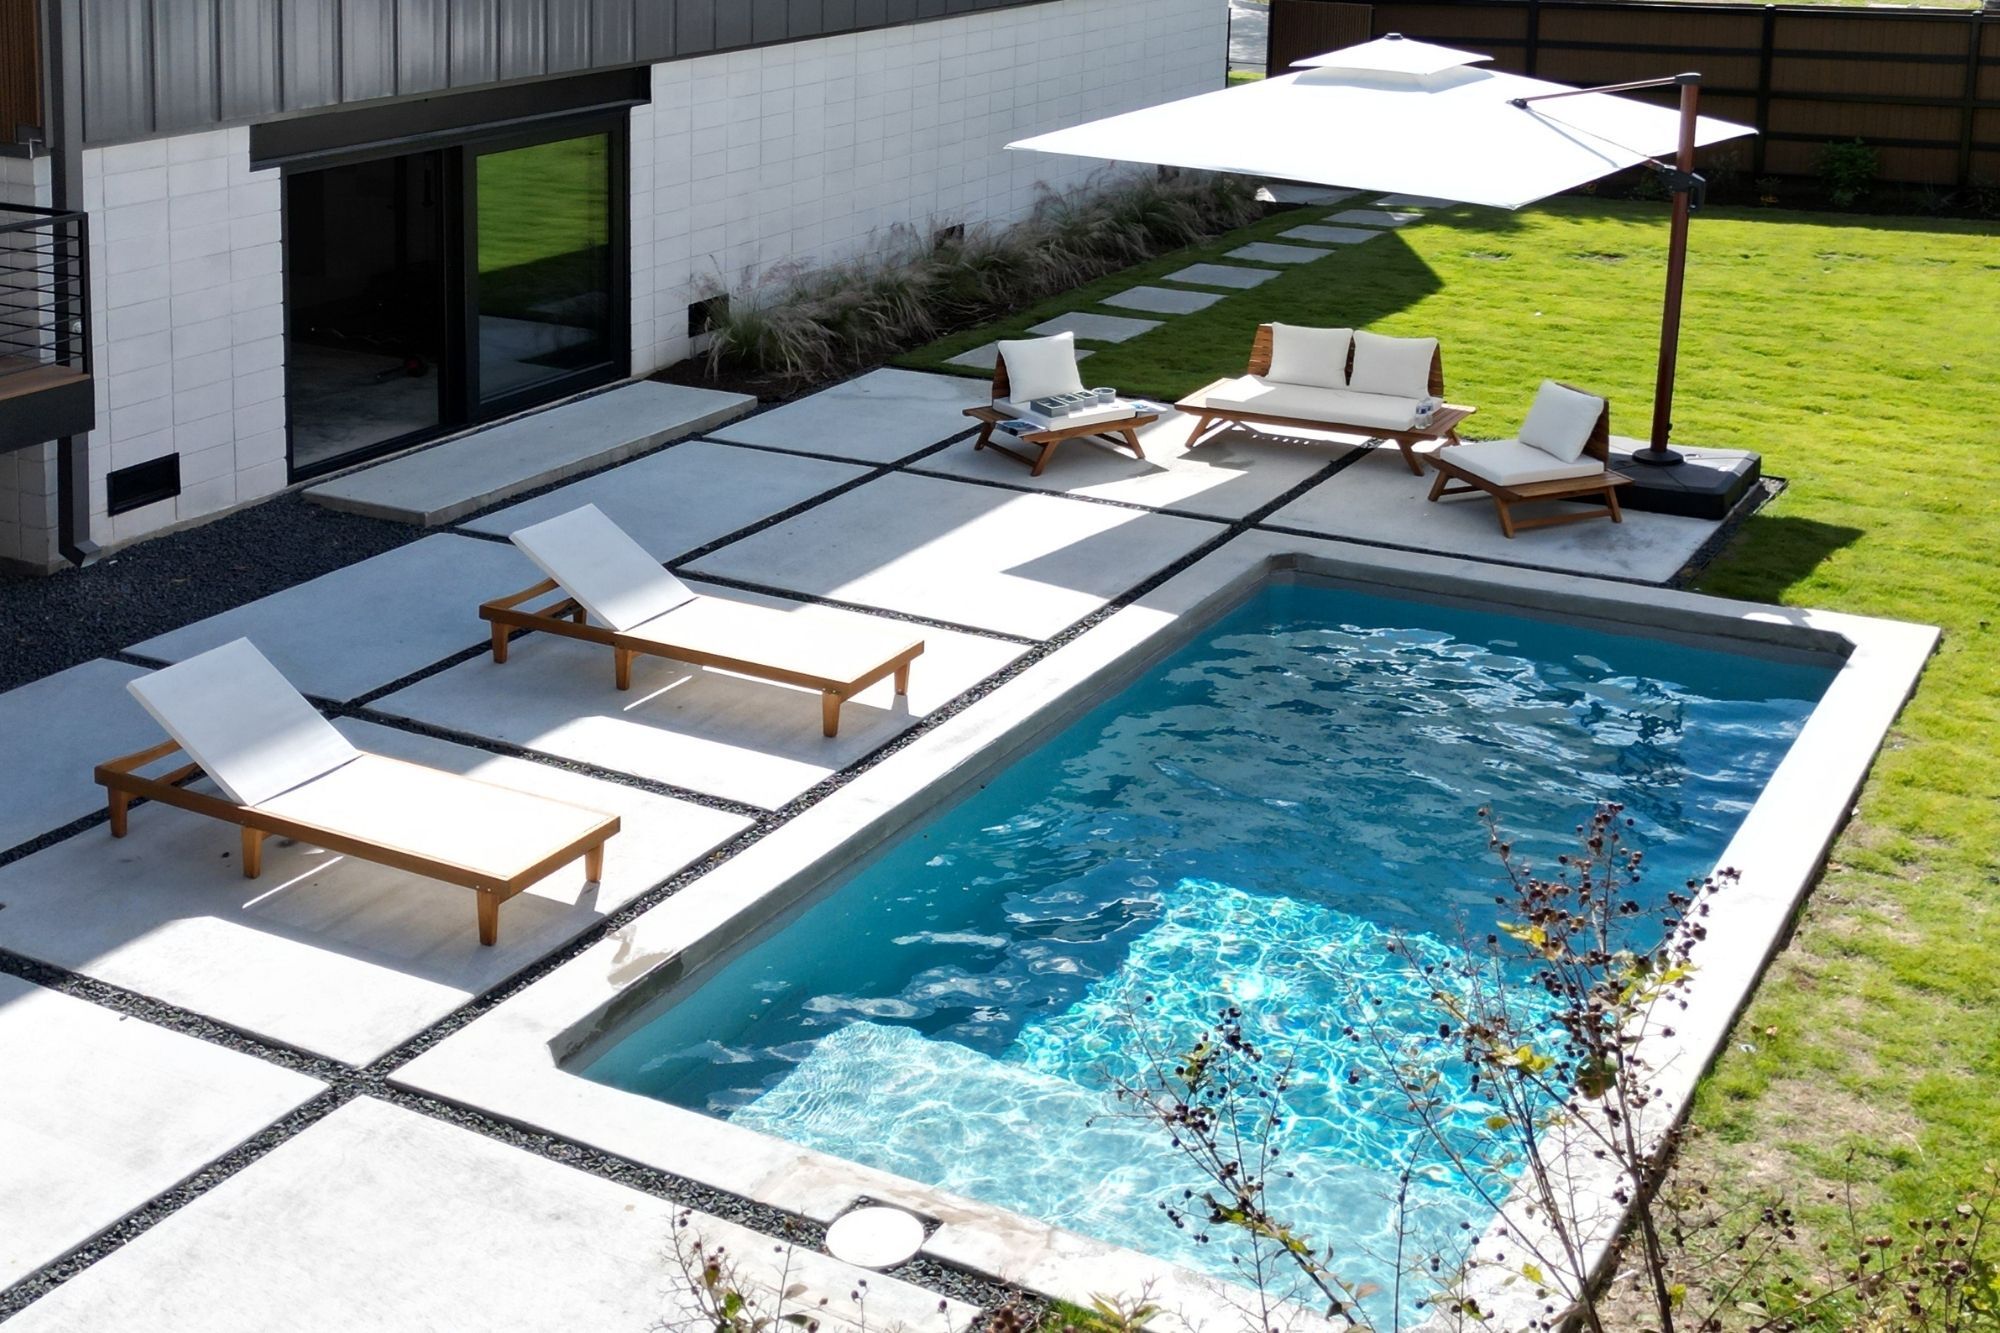
8. Fill + Start Up
Prior to filling, the Plungie requires final certification and inspection. It is vital that you install the hydrostatic valve, an in-depth guide can be found in step 8 of the Plungie Install Guide.
You can then arrange for the pool to be filled. It will take anywhere between 6-12 hours to fill a Plungie with a garden hose or as little as 15 minutes if you engage a local water delivery service.
All that's left to do is stand back and marvel at how quick and easy your Plungie install was. Plus, make sure you register your Plungie warranty.
